There are 2 key elements to making the best buttercream frosting for cakes – a lot of patience and this amazing recipe!
After you try this recipe for the best homemade buttercream frosting for cakes, you won’t ever want to buy a jar of frosting again!
The key to this recipe is patience.
Making a homemade cake is a labor of love, and when planned well into your schedule, you’ll end up with a DELIGHTFUL cake to enjoy with your friends and family.
So please, take your time for best results. The goal is proper ingredient setup.
The butter needs time to come to room temperature. This will give it the best consistency for the frosting.
The prepped frosting needs time to chill.
The baked cake parts need time to cool and then chill or freeze. (I recommend freezing the cake layers AFTER they have cooled to room temperature.
The frosted cake needs time to chill.
CHILL – CHILL – CHILL.
Again, take your time!
Here’s my suggested order of operations for making THE BEST CAKE AND HOMEMADE BUTTER CREAM FROSTING…
How to Make Buttercream Frosting for Cakes
- Day 1: Take the butter from the fridge and set it out overnight, so it can come up to room temperature. This is not an option.
- Day 1: Bake the cake pieces or layers and let cool completely on the counter. Once cooled, put into the freezer.
- Day 2, morning: Mix up the frosting using the recipe below.
- Day 2, morning: Take the cake pieces out of the freezer and start frosting with the frosting you just prepared. Once frosted, put into the fridge to chill.
- Day 2, afternoon or evening: take out of the fridge, slice into that cake, and enjoy every bite!
Tips and Hacks to Easily Frost Your Cake
Use a cake spreader and a cake spinner.
Put the cooled cake layers into the freezer to help reduce crumbs from breaking off and mixing into the frosting. Then you wont have to go “crumb fishing” with toothpicks.
Use room temp frosting, then chill the frosted cake (see below.)
If you plan to do “color or extra decorations,” you’ll want to use some great piping bags and tips.
Also, you’ll want to 1.5x or 2x the recipe below. The recipe below is enough to frost a 2 layer 9″ round cake – middle layer, top and sides.
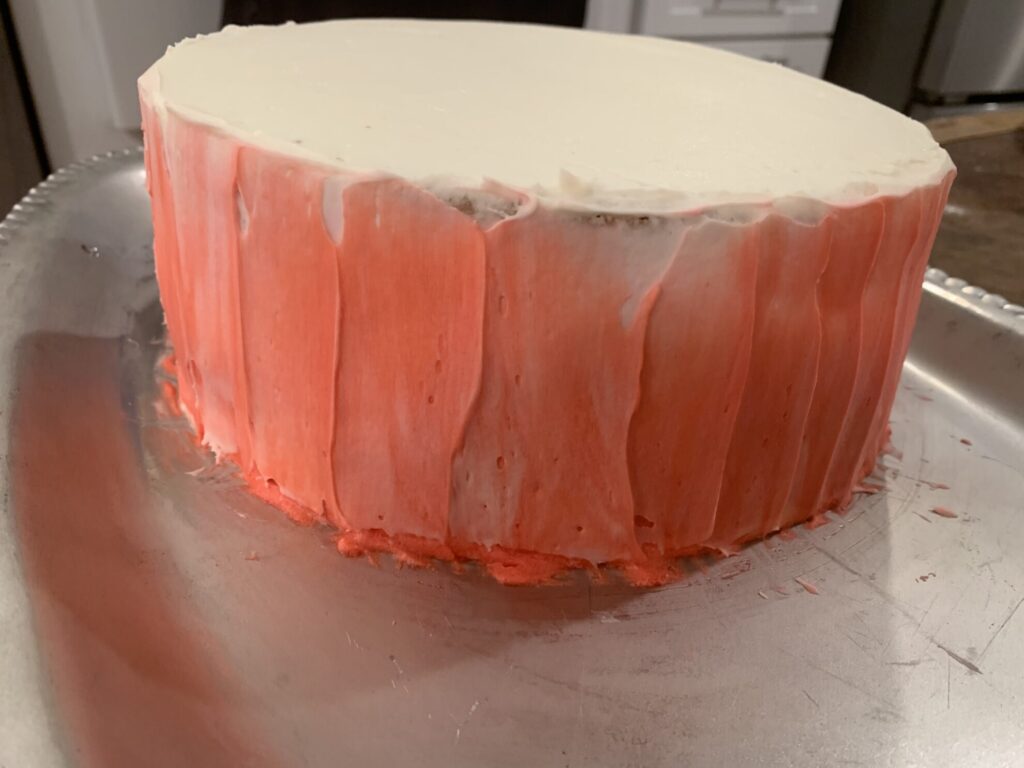
If you plan to add color like you see below, you’ll need to make 1.5x or 2x so you have extra white frosting to color and use.
How to Adjust Colors for Homemade Buttercream Frosting
The basic homemade buttercream frosting will be very “white” in color, with a hint of yellow. Just a hint.
If you want to use different colors, then put on your scientist hat and get to work making colorful magic.
You will want to use either colored frosting to mix into your homemade frosting, or food coloring drops to create your desired colors and look.
Drop and stir. Drop and stir. Until you get the color(s) just as you want them.
Then transfer the colored frosting into piping bags, or use your cake frosting tool to add and spread onto the cake.
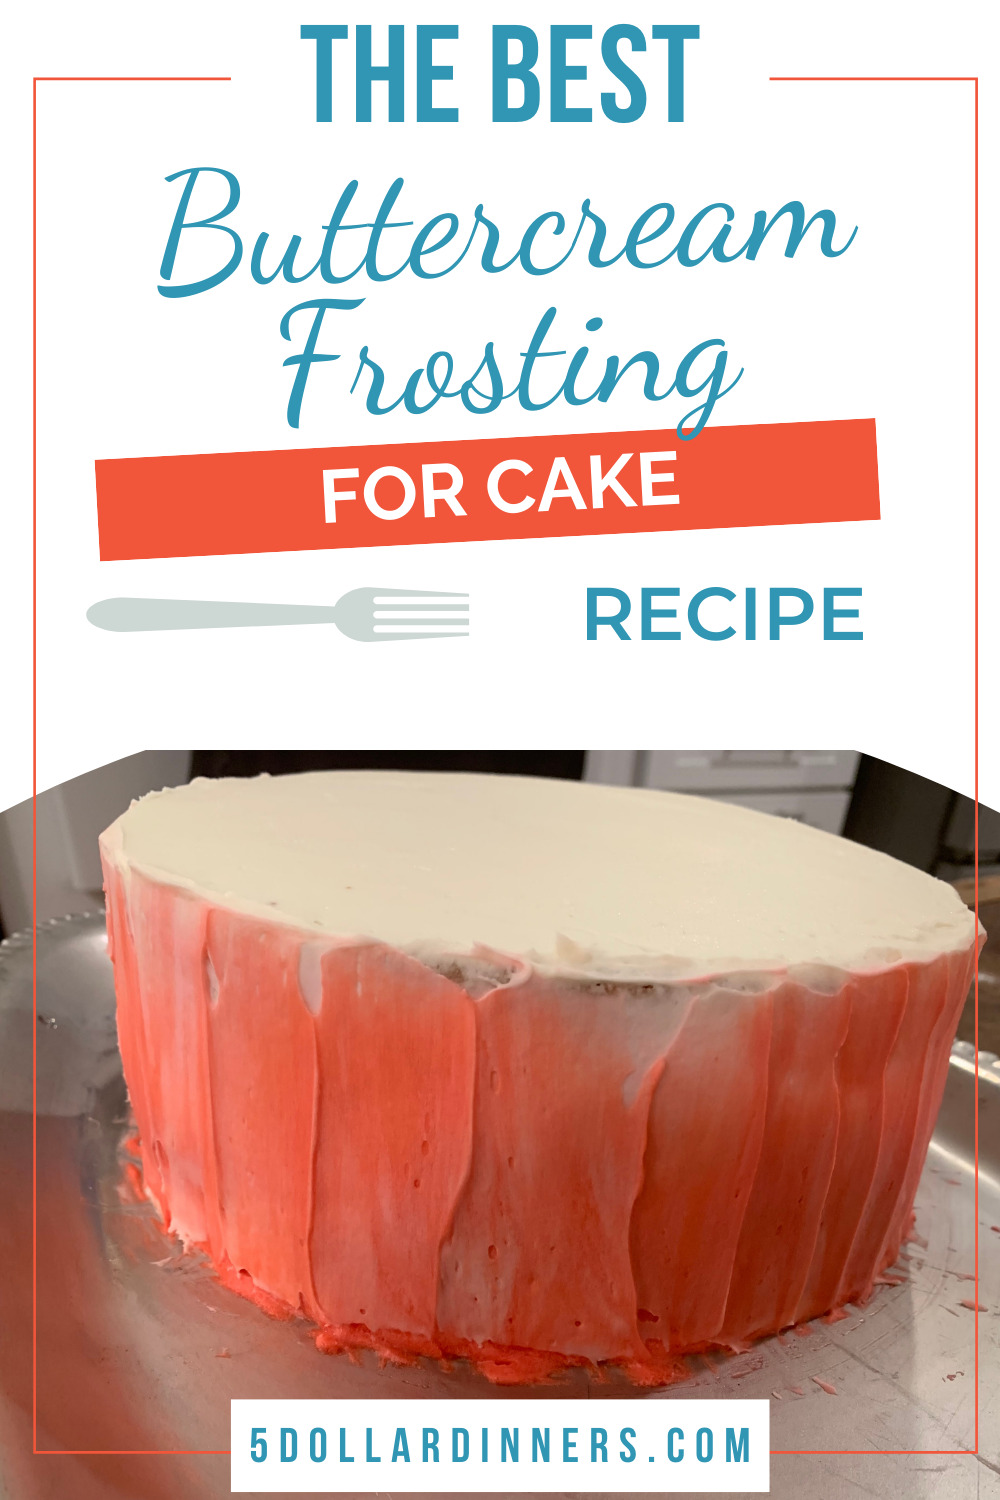
The cake above is 3 colors – red, pink and white – and I slid the frosting tool up the sides to create a quasi-ombre color.
With patience, this recipe and your creativity, the cake decorating possibilities are endless.
Have fun and enjoy each bite of this homemade buttercream frosting for cakes!
Best Buttercream Frosting for Cakes
Equipment
- Hand mixer or stand mixer
- Plastic or silicone spatula
Ingredients
- 1 cup butter softened to room temperature
- 4.5 to 5 cups powdered sugar
- 2 tsp vanilla extract
- 2 Tbsp heavy cream or half and half
Instructions
- In a mixing bowl, cream the butter with hand mixer. You could use a stand mixer with whisk attachment.
- Once the butter is creamed, mix in the powdered sugar - 1 cup at a time. After mixing in 3 cups of powdered sugar, mix in the vanilla and heavy cream/half and half.
- Continue adding the remaining powdered sugar, beating with hand mixer or whisk - until it reaches your preferred consistency.
- Use immediately to frost a chilled cake, or chill and frost the cake later. It's easiest to frost cakes with room temperature frosting, so if you do chill it - leave time for it to warm back up to frost.


Leave a Reply